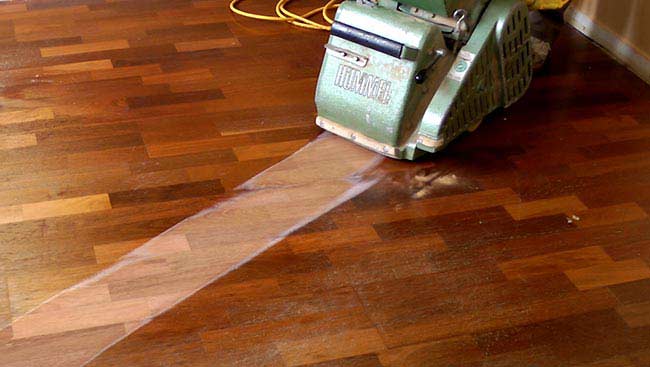
Refinishing Tiled Wooden Staircase Floor
Unlike when you lay a tiled wooden staircase floor, there is no need to mark out the position of each wood board that you lay. However, it is recommended that you lay a trial row before you begin wood installing the self-adhesive underlay. This is to help to determine the direction and position you will begin laying the flooring, and also to help calculate how much of the end-of-row boards you will need to cut when you come to it pox. A good tip is to start laying your wood floor refinishing Fl in the lightest part of the room. You should try to avoid a layout that will result in you having to cut more than 50% away from the depth of your end-of-row boards, or less than 400mm off from the width of your boards.
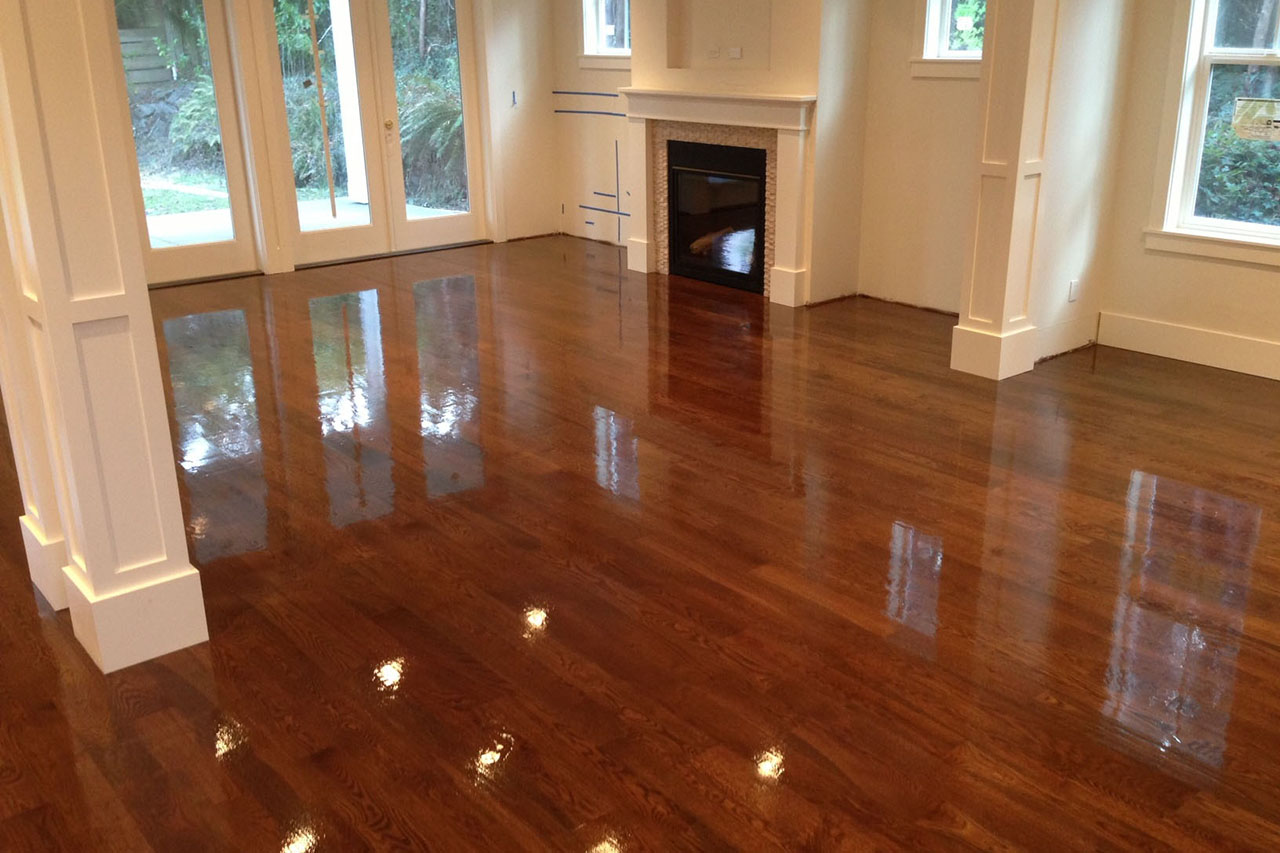
Steps for wood floor refinishing Fl of floating floor
American Trust Flooring will be installing a ‘floating floor’ through the methods used in this tutorial. This means that technically the new wood flooring is not directly fixed to the old sub-floor. This is a very common, efficient, and perfectly effective way to wood floor installation. With this in mind, begin laying your underlay with the shiny-side up. This is because the shiny side is the one that features adhesive.
Ensure you have your spacers in place, and you are laying the rolls at a 90-degree angle to the way you will lay your laminate boards; this is to prevent the seams between the pieces of underlay ever corresponding to the joins between the piece of wood floor Bradenton. As you lay the underlay, make sure there is no gap or overlap between the sections as either of these might cause the wood boards to sink or stand proud. The goal here is a nice consistent surface. Tape down the joins between the sections with a bit of masking tape to hold them in place.
Using the layout you established previously, start by removing a section of the protective film on the underlay by about half the width of a wood board company. Then gently lay your first board in place (making sure your spacers are still in place). If you’re happy with the position of the first board, peel back more of the protective film to expose the board to the adhesive completely. In the same way, you can continue throughout the room, gradually peeling the adhesive film back as you go.
Most wood flooring Fl company features a tongue and groove fitting profile. These boards should fit together easily and, and can be joined together by introducing the new board at a 45-degree angle to the previous one, then slotting it in place as you lower it. You can use your beating block or pulling bar to further encourage the boards in place if necessary.
End-of-row boards can be cut using the saw you have available, and by marking the board where the cut needs to be made. Take care to cut the board the right way up as different saws may cause damage to either the top side or underside of the wood. Remember to use your safety glasses as you do this.